There are many online videos that show woodcarving. Many people prefer watching Ian's videos as they demonstrate techniques step-by-step. Ian's videos come in downloadable video files. These videos also include plans and photos. All purchasers must be in a position to view MPG videos. His videos are not the only thing he offers. He also offers books to help you carve various materials. Ian Norbury's Fundamentals of Woodcarving is an example.
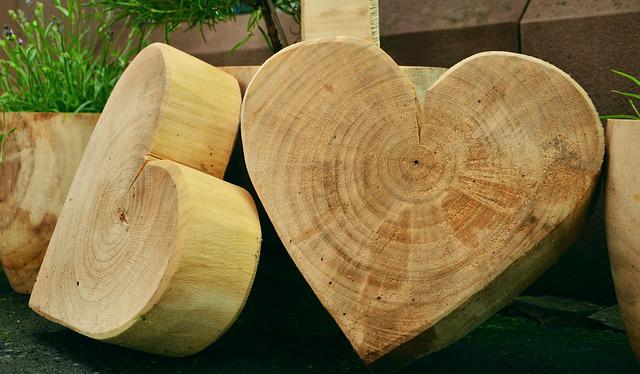
Woodcarving basics
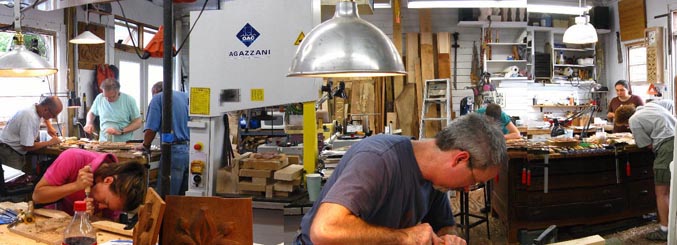
Consider taking a beginner's woodcarving class. This class will give you basic carving skills and is tailored to your ability. Before you can learn more advanced techniques, safety, tools and wood will be covered. You will learn to carve an eagle, human face, or Christmas ornament. Learn about grain direction and how to cleanly remove wood.
If you've always wanted to learn how to carve flowers or fruit, you might be interested in taking a woodcarving class. It's not difficult to learn the fundamentals if you have a natural talent for the craft. No matter what level you are at, you can learn the basics and design process in an enjoyable and relaxed atmosphere. After thirty years of learning woodcarving techniques, a woodcarver will tell you that the best way to learn is to find a teacher.
Ian Norbury
Ian Norbury's woodcarving videos are like peering over the shoulder at a master carver. Each video shows you the steps and demonstrates the techniques that Ian Norbury has mastered over fifty years of woodcarving. These videos include detailed instructions and a money-back guarantee. They can be downloaded at any time, and you can watch them as many times or less as you like.
You can use the DVD for reference or as a training tool. You will find step-by–step instructions and clips from Ian Carving in the videos. The entire process can be seen from start to finish. Ian's teaching methods are easy to understand. He shows how to carve an harlequin and how to draw a character out of a myth. There are more videos than two hours to choose from and each can help improve your technique.
Frank Russell

Frank Russell's woodcarving videos can be helpful for intermediate and beginner carvers. His techniques include woodcarving animals and birds as well as plants. He shows you how to clean and shape bits. These videos show how to carve, and also provide visual concepts. Frank Russell's videos may be downloaded on DVD or streamed online. If you're looking for a comprehensive guide to carving birds and other animals, Fur, Feathers, and Fins are ideal.
Frank Russell's videos on woodcarving are great resources for both beginning and advanced carvers. These videos contain detailed step-by-step instructions for beginners and tips for advanced carvers. They are made using Foredom Woodcarving Kits. This series also features a Cotton Tail Rabbit carving clip.
Scott Phillips
Scott Phillips videos on woodcarving will give you more information. Scott Phillips woodcarving skills are featured on the PBS program "American Woodshop." Scott shares his woodcarving journey, including the time when he used his father’s walnut boards. He also discusses how his love of baseball inspired his first jewelry box. Scott's woodcarving videos are not the only ones he has made. Scott also wrote a book on shuttle history. Scott will also be chronicling the history in his book "Remove Before Flight." He still makes other types of furniture occasionally, such as clocks and Adirondack chair, even though his woodcarving career has taken off.
Kevin Coates
Kevin Coates makes woodcarving videos. He has a YouTube channel with almost seven million views and 26,000 subscribers. Many woodcarvers have been inspired by his videos to create their own woodcarving videos. These videos will show you how to carve your very own piece of art. These videos show carvings by Kevin Coates, as well as other well-known carvers. You won't find better carving videos than these.
FAQ
Do I have the potential to make a decent living doing this?
Yes! Many woodworkers are already doing so. According to U.S. Bureau of Labor Statistics (BLS), woodworkers earned a median annual salary of $34,000 in May 2012. This is significantly higher than the national average, which is $31,000 per year.
What's the difference between a hobbyist and a professional woodworker?
Hobbyists love making things from wood while professionals are more concerned with the quality of their work. Hobbyists often take pride in the creations they make and often share them to family and friends. Professionals will spend hours researching designs and then begin to create a project. They will pay attention to every detail, from selecting the best materials to finishing the project perfectly.
What's the time taken to finish a piece furniture?
It depends on the size and condition of the furniture. You can finish smaller projects, such as boxes or picture frames, in one day. Larger projects such as tables and desks can take several days to complete. It takes time in order to properly stain or seal the wood.
Statistics
- If your lumber isn't as dry as you would like when you purchase it (over 22% in Glen Huey's opinion…probably over 10-15% in my opinion), then it's a good idea to let it acclimate to your workshop for a couple of weeks. (woodandshop.com)
- The best-paid 10 percent make $76,000, while the lowest-paid 10 percent make $34,000. (zippia.com)
- Average lumber prices rose about 600 percent between April 2020 and May 2021. (familyhandyman.com)
- Most woodworkers agree that lumber moisture needs to be under 10% for building furniture. (woodandshop.com)
External Links
How To
How to make wood joints
This tutorial will show you how to join two pieces of wood together. We will use the pocket hole joint, which is drilling holes in the wood to join them. This method is great if your wood's straight and smooth. You might consider dowel joinery if your wood isn’t straight or flat. These are the steps
-
Drill Pocket Hole Joints. You will need to measure and mark the exact location of your pocket hole joint. With a handheld drill machine or jig saw, drill 3/4-inch deep holes in the ends of each piece.
-
Sand Smooth. Sanding the edges of the wood will help to prevent the joint from splitting later.
-
Glue Together. Apply glue to both sides of the wood. Let the wood sit for 5 minutes, then clamp it together.
-
Attach the Pieces together. After the glue has dried thoroughly, secure the pieces so that they are flush.
-
Trim Joinery. Trim any excess wood surrounding the joint once the glue has dried completely.
Make sure to leave enough room between the pieces so that you can turn them inside and out.