
For beginners who want to learn how to whittle, it's possible to start with the basics. Choose wood, a knife, and some tools. This article will teach you about wood types, tools, and techniques. Once you've got the basics down, you can start your own whittling project! There are many types of whittler projects to choose from.
Wood
While there are literally thousands of types of wood, you will find the four woods on this list to be the best for whittling. If you are just starting to whittle, the woods on this list will help you get the hang of the craft. You can also whittle wood in many different ways to create different shapes. Here are some simple methods for whittling wooden objects.
The pull stroke is when you carve wood. Keep the blade parallel with the grain. This will ensure that the wood is not ripped. You can tell which direction the grain is by looking for dark streaks throughout the wood. The direction of these streaks will be the direction of the blade when whittling wood. When using the pull stroke, the blade will not cut through the wood as effectively as the push stroke.
Knife
A knife is a great tool to learn woodworking. Although you may not be an expert at this task, you will have greater control over your knife and can make more precise cuts. For example, you can practice the pull stroke by cutting small strips of soap with a knife. Practice makes perfect. You will find it easier to manage beginner projects and more difficult as your skills improve.
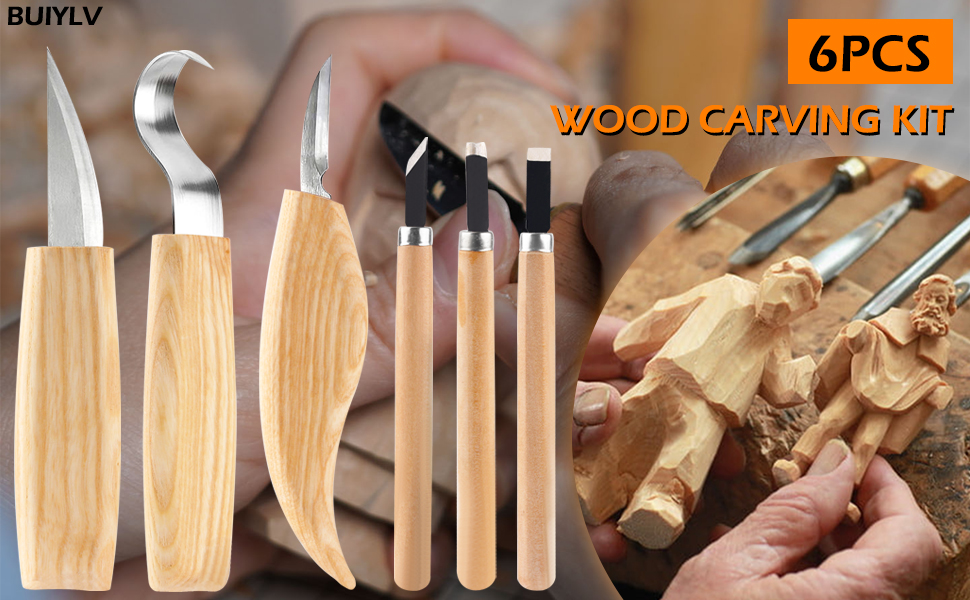
A knife is essential before you can begin whittling. A pocket knife works well because it's sharp enough for shavings. Avoid knives that have large or long blades. This can cause choking. A narrower bevel will make it easier for you to sharpen your knife. A frame saw can be used if needed.
Techniques
There are a few techniques that you can use to improve your skill at whittling. The most common cut is the pull stroke, which involves bracing your right thumb on the wood and pinching your right fingers. Now, hold the knife straight while drawing the blade towards your thumb. This stroke is very precise and controlled. It gives you much more control over your knife. This technique is best for detailed cuts.
There are two types in general of whittling books. The Old Time Whittling books are the most popular. This book is great for beginning whittlers. The Little Book of Whittling has many whitling ideas. There are many whittling projects in the Whittling Handbook. The Art of Whittling also contains advanced projects. This book includes simple puzzles and patterns like ball and cage.
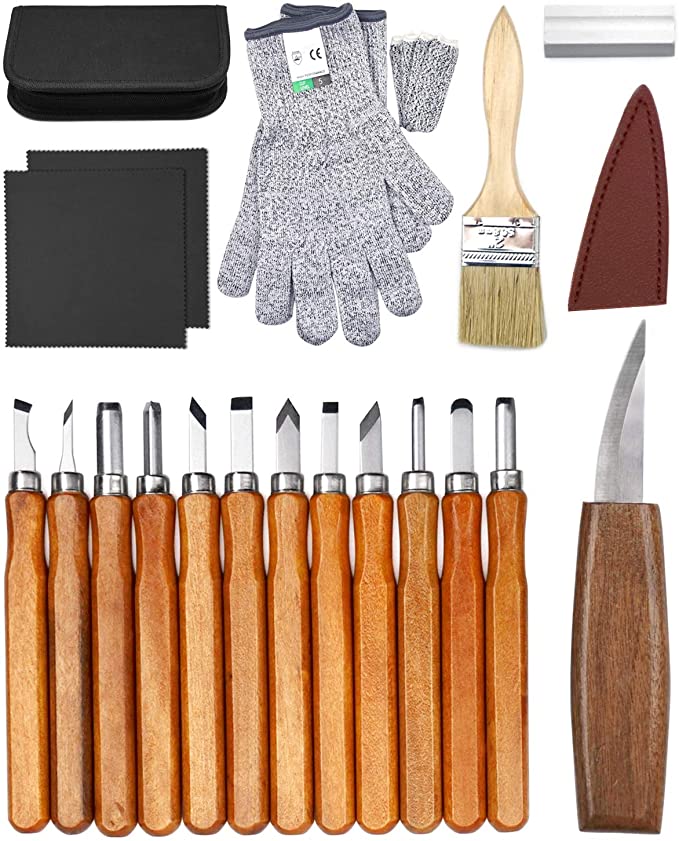
Tools
The first step in making whittling tools is to find good wood for your projects. While you can use wood from the street, it is better to have your own greenwood. Greenwood is easier than drying wood to carve. Also, deadfall branches are also available at any season. You can collect small trees at any time, but it's best to cut them in winter. Ask permission before you start collecting wood if your work is on private property.
If you're just starting out, there are some great sets available. The Delicacy carving set includes 12 tools, a blank wooden spoon and a sharpener. Protective gloves and a carrying case are included with the set. It's worth buying a set of whittling tools, since you'll be using them for a long time. This set is also a great way to get started.
Projets for beginners
Start with a simple project if you are just starting out in wood whittling. Then you can start to tackle more difficult projects such as carving faces onto walking sticks. A bird like the Comfort Birdie may be a good choice for beginners. Another beginner whittling idea is the swan. These are wonderful gifts for children and are very easy to make.
Another project that is considered a beginner project is a carved ball in a cage. You can create intricate designs with feathers, or match your theme with feathers. You can also create Tiki idols and woodland spirits. While there are many ways to create Tiki idols and woodland spirits, it's always good to have a template in place before you begin. This will let you know which tools to use and which parts are not.
FAQ
This is a job that I can make a living from.
Yes! Many woodworkers are already doing so. According to the U.S. Bureau of Labor Statistics, the median annual woodworker wage was $34,000 in May 2012. This is higher than the $31,000 annual national average.
Where can I get free woodworking plans?
To find free woodworking plans, you don't have to buy any magazines or books. All you need to do is search Google. Enter "free woodworking", and you will see hundreds upon hundreds of websites offering free plans.
What kind of wood should I use?
Woodworking is a popular job that involves oak, pine and maple. Every type of wood is different and can have a unique look and feel that will affect the final product. Oak is a darker wood and tends to be more durable than other types. Birch is lightweight and soft while mahogany is heavier and denser. There are two options: solid wood and veneers. Veneers are thin sheets or wood that are glued together into one layer.
How can I learn basic woodworking skills
You can start building furniture by making a bench. You can do this project using any type of wood you have on hand at home. If you are unsure what type of wood is best, you can get cheap pine boards at Lowes (or Home Depot) instead. After you've built your bench, you'll want to sand off all the rough edges and finish it with a stain or varnish.
Statistics
- Average lumber prices rose about 600 percent between April 2020 and May 2021. (familyhandyman.com)
- Most woodworkers agree that lumber moisture needs to be under 10% for building furniture. (woodandshop.com)
- Woodworkers on the lower end of that spectrum, the bottom 10% to be exact, make roughly $24,000 a year, while the top 10% makes $108,000. (zippia.com)
- The U.S. Bureau of Labor Statistics (BLS) estimates that the number of jobs for woodworkers will decline by 4% between 2019 and 2029. (indeed.com)
External Links
How To
How to make wood joint
This tutorial will show you how to join two pieces of wood together. The "pocket hole joint" is a method whereby we drill holes into the wood and glue them together. This method works great if your wood is straight and smooth. You might consider dowel joinery if your wood isn’t straight or flat. Here are the steps
-
Drill Pocket Hole Joints. To start, measure and mark where you want to put the pocket hole joint. With a handheld drill machine or jig saw, drill 3/4-inch deep holes in the ends of each piece.
-
Sand Smooth. Sanding the wood's edges will ensure that the joint doesn't split.
-
Glue together. Apply glue to both ends of the wood. Let it sit for about 5 minutes before clamping the pieces together.
-
Clamp the Pieces Together. After the glue has dried completely, you can clamp the pieces together until they are flush.
-
Trim Joinery. After the glue dries completely, trim off any excess wood around the joint.
Make sure to leave enough room between the pieces so that you can turn them inside and out.